
Twitter Cards allow you to add media to your tweets. It’s very well known that updates on social media platforms with images are what gets shared the most. A good way to add an extra element to your tweets without having to upload an image with every tweet is by using Twitter Cards to automatically provide more information when linking to your website or blog. For reference, here are two tweets of mine where I link to a blog post. The first is without Twitter Cards installed, just a normal tweet. The second is when Twitter Cards has been installed, you can see the extra information the tweet has.
How to promote your blog posts using social media #bbloggers http://t.co/N8E4RgQ6tS
— Ellie M (xomisse) (@xomisse) May 1, 2014
Advantages of Twitter Cards
- More visual tweet including a longer description and more engagement
- Allows followers to see an excerpt of the content.
- Allows you to use two Twitter Usernames – the sites Twitter handle and the author/creators Twitter handle.
- Gives you the credit if someone tweets your link without mentioning you, as your Twitter handle and image will appear in the Card.
- See how well you’re tweets are doing on Twitter Analytics.
Different Types of Twitter Cards
Currently there are nine types of Twitter Cards available, details of them can be found on the Development Documents. I’m going to focus on the five, the ones I believe most bloggers and small businesses will use most.
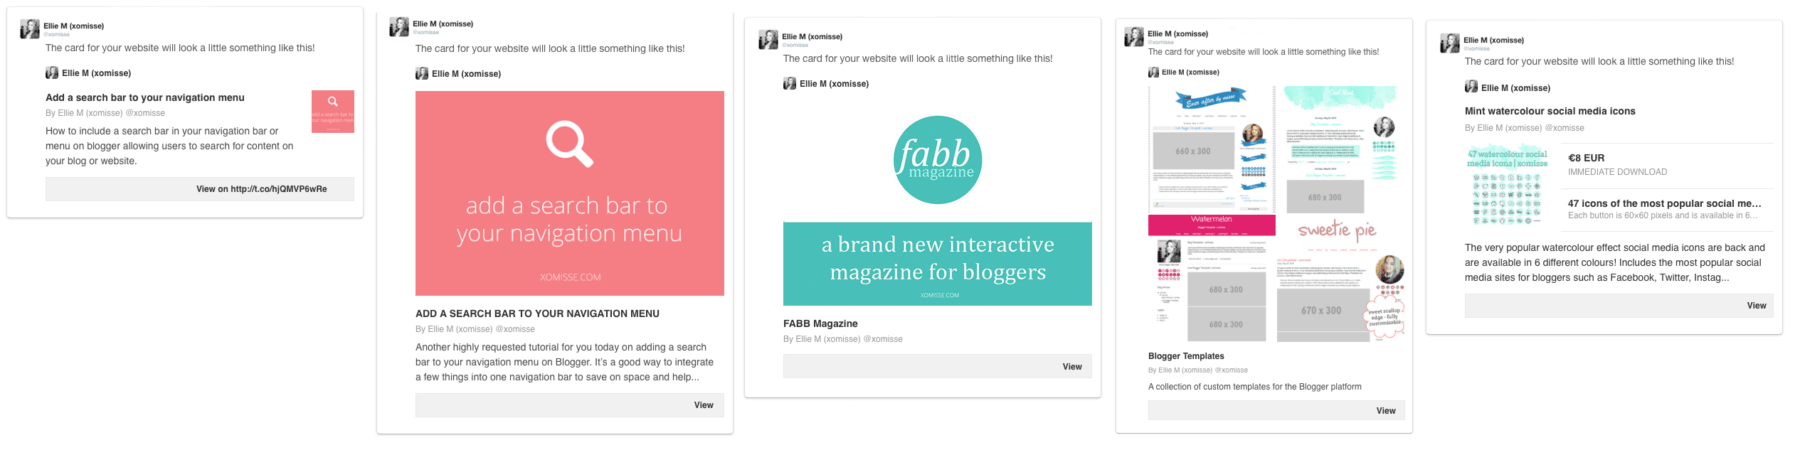
Summary Card – includes title, description, author, thumbnail and link.
Summary Card with larger image – similar to the Summary Card but with a full image.
Photo Card – includes photo, title and link.
Gallery Card – includes four images, title, description and link.
Product Card – includes details for e-commerce product.
How to set up Twitter Cards for your blog/site – General
This is a general how to which works on most sites. There are alternative methods listed below that are specific to Blogger and WordPress. Twitter Cards update about once a week, so if you make changes you may need to wait a few days for them to update.
1. Go to the Twitter Cards here and sign up as a Twitter Developer. Choose the type of card you want and fill in the required information, what’s required is different for each card.
2. Scroll down and click “update preview”. Under the preview image you’ll see that a code has been generated with your information, click “select sample” and copy the code.
3. Go to your site’s template. Paste the Twitter Card code above it.
</head>Blogger users – you’ll find </head> in Template > Edit HTML. Put a / before the closing > on each line so it will look something like
<meta name="twitter:card" content="summary_large_image" />
<meta name="twitter:site" content="@site_username" />
<meta name="twitter:title" content="Blog/Website/Shop Name" />
<meta name="twitter:description" content="About your Blog/Website/Shop. 200 characters." />
<meta name="twitter:creator" content="@creator_username" />
<meta name="twitter:image:src" content="DIRECT IMAGE URL" />
<meta name="twitter:domain" content="www.YourDomain.com" />
Note – this method worked for me on the majority of sites I tested. If it doesn’t work, there’s an alternative method below for Blogger users.
WordPress users, you’ll find </head> in your header.php file. You could use the WordPress SEO by Yoast plugin instead. Go to SEO > Social > Twitter. You can only choose from two cards at the moment – summary and summary with large image. There are also a number of plugins for integrating Twitter Cards available. See below for more details on adding to WordPress.com.
4. Go to the Validator here, click Validate & Apply and type in your URL. If it doesn’t work right away come back to it in a couple of hours. Make sure to use the correct URL – typically this is your full URL http://www.yourdomain.com. You may have to request approval which shouldn’t take too long and once you get a green light, you’re all set. You should receive a confirmation email.
5. Now all you have to do is share your blog/site links as usual and they will automatically include the appropriate card. I have noticed that for some URL shorteners they don’t work. If adding multiple card types, you’ll need to repeat the steps and request approval for each.
How to set up Twitter Cards for your blog – Blogger
This is an alternative method to setting up Summary Card with larger images for Blogger. The code is embedded in your templates post section allowing it to grab specific information about each blog post.
1. Template > Edit HTML > Format Template and then search for the following
<b:includable id='post' var='post'>2. Paste the following code right underneath <b:includable id='post' var='post'> and change the coloured text to your own information before saving.
<meta content='TWITTER USERNAME OF BLOG' name='twitter:site'/>
<meta content='TWITTER USERNAME OF AUTHOR' name='twitter:creator'/>
<meta content='www.YOURDOMAIN.com' name='twitter:domain'/>
<b:if cond='data:post.firstImageUrl'>
<meta content='summary_large_image' name='twitter:card'/>
<meta expr:content='data:post.firstImageUrl' name='twitter:image'/>
<b:else/>
<meta content='summary' name='twitter:card'/>
<b:if cond='data:blog.postImageThumbnailUrl'>
<meta expr:content='data:blog.postImageThumbnailUrl' name='twitter:image'/>
</b:if>
</b:if>
<meta expr:content='data:post.title' name='twitter:title'/>
<b:if cond='data:blog.pageType == "item"'>
<meta expr:content='data:post.snippet' name='twitter:description'/>
<b:else/>
<meta content='DESCRIPTION OF BLOG' name='twitter:description'/>
</b:if>3. Go to the Validator here, click Validate & Apply and paste the URL of your latest blog post. You may have to request approval which shouldn’t take too long and once you get a green light, you’re all set. You should receive a confirmation email. Share your blog post links as usual and they will automatically include the appropriate card.
How to set up Twitter Cards for your blog – WordPress.com
WordPress.com is already configured for Twitter Cards so it’s pretty easy to setup.
1. Login to your WordPress Admin Dashboard. In the left sidebar, go to Settings > Sharing. Go to the Twitter section, click the connect button and continue to allow your blog to Authorize to your Twitter account.
2. Go to Settings > Reading > Site Visibility and allow search indexing.
3. Go to the Validator here, click Validate & Apply and paste the URL of your latest blog post. Share your blog post links as usual and they will automatically include the appropriate card.