Today’s post is about how to create high quality social media icons for your blog. I’ve been asked numerous times how I make the social media icons in my shop so this is more or less how I do it. I know there’s quite a few tutorials online about this, but I’ve never seen anyone explain the setup process in order to create social media buttons which are equal in size, shape and are high quality (not pixelated or blurry, etc). I’ve done out a written step by step tutorial below with screenshots and underneath this you’ll see a video showing you the entire process.
How to make social media icons
1. First things first, you need a tool. Pop on over to this post for online alternatives to Photoshop or this post on alternatives to Photoshop for Mac and Windows users and decide what you want to use. Although Photoshop and Photoshop alternatives will work perfectly fine, my top recommendation is using a vector based tool such as Adobe Illustrator or Inkscape. The reason being that the default format is SVG (Scalable Vector Graphic) so you don’t have to worry about losing quality if you scale the design. I usually use Illustrator when creating blog graphics such as buttons but I’m going to use Photoshop for this tutorial so the steps will be the same for the majority of tools listed above.
2. Now you have the program you’re using, open a new file. The size will depend on how many buttons you’re creating and how big you want them to be. What I like to do is set up a grid layout so that everything is equal and exact. You can turn on rulers and grids under the view menu. You can change the grid size in settings. If you click on the ruler, drag and let go, a guide line will be created. Using these 3 things, create an equal grid like below which will help us later.

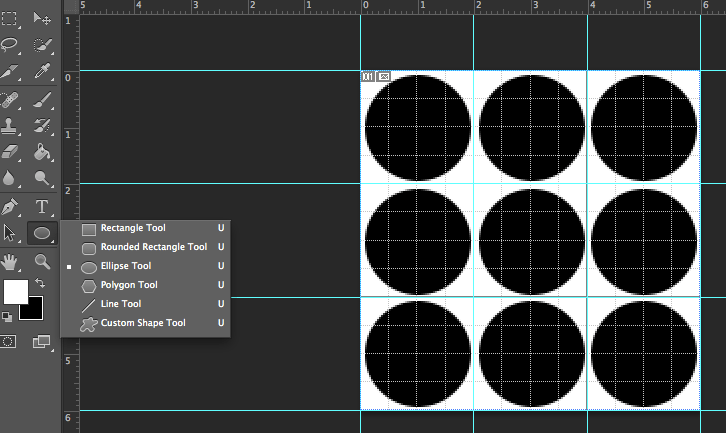
3. With an equal grid for us to follow, select the ellipse tool and create a circle in the first “box”. Press the shift key while dragging to make the perfect circle. We’re going to duplicate this to fill the other boxes. Select all circles and merge them together. You can see this in the video tutorial below.
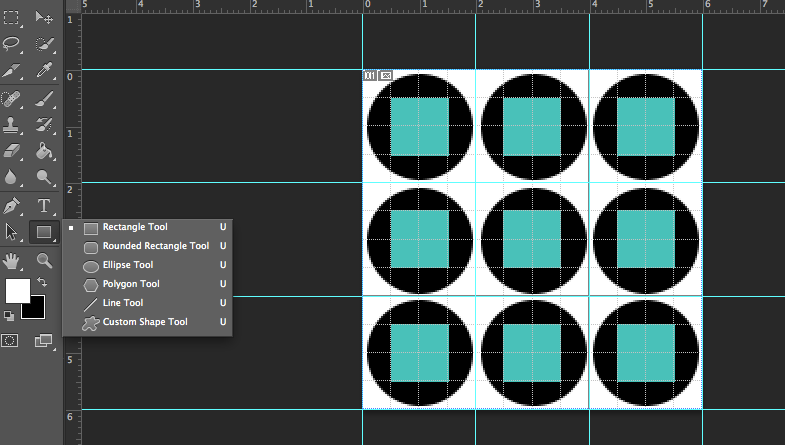
4. This step isn’t necessary but I like to do it to make sure everything is centred equally. Select the rectangle tool and create a square in the centre of each circle. Again, press shift on your keyboard to keep the square equal. This doesn’t have to be exact as we’re using it as a guide for the icon itself.
5. There’s a couple of ways to add the icon to your button. You can draw them yourself using the pen tool, visit the social media sites assets page, download photoshop custom shapes or download social media icon font. However you get them, please make sure to read the copyright and usage information.
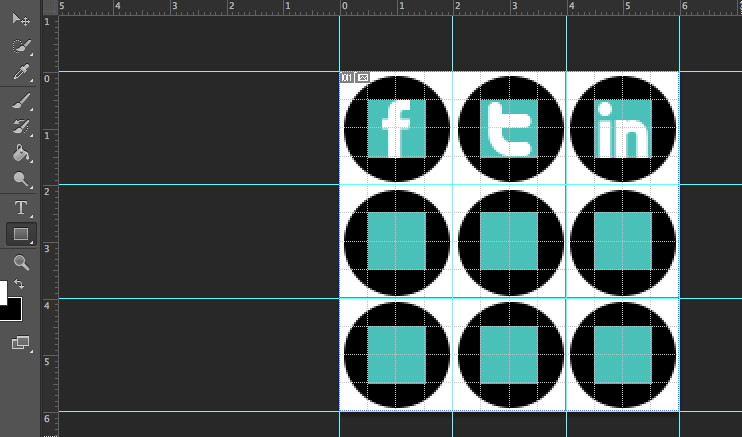
6. Add the icon to the centre of your button and position. You may want to add a stroke, shadow, etc. Change the background colour of the circle button. Turn off the guide layer from step 4 and the white background layer so the buttons have a transparent background.
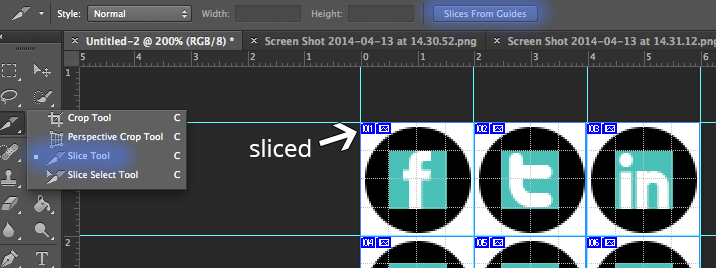
7. Now it’s time to export. You can use the slice tool to slice up the image using the guides you created so when you click “save to web” it will automatically cut up and separate the images for you. Remember to save as a .png if you want the background to be transparent/invisible. Check out this tutorial for how to add them to your blog.
How to create social media buttons – video tutorial
Related Posts
Add social media links beneath each blog post
Add social media buttons to your blog
Add hover over effects for social media icons